
Paper Rose Wreath Tutorial


You'll need:
- 8" foam wreath (Finished wreath size: 12" round)
- Small paperback novel (thrift store books are great for this project because you can use a classic like Tolkien or Austen and if they are a bit older they will have a wonderful natural tintedness to the pages). I used every single page of a paperback copy of The Two Towers. If you start with a larger foam wreath, you will need two books instead of just one.
- Hot glue gun
- Scissors
- Pencil
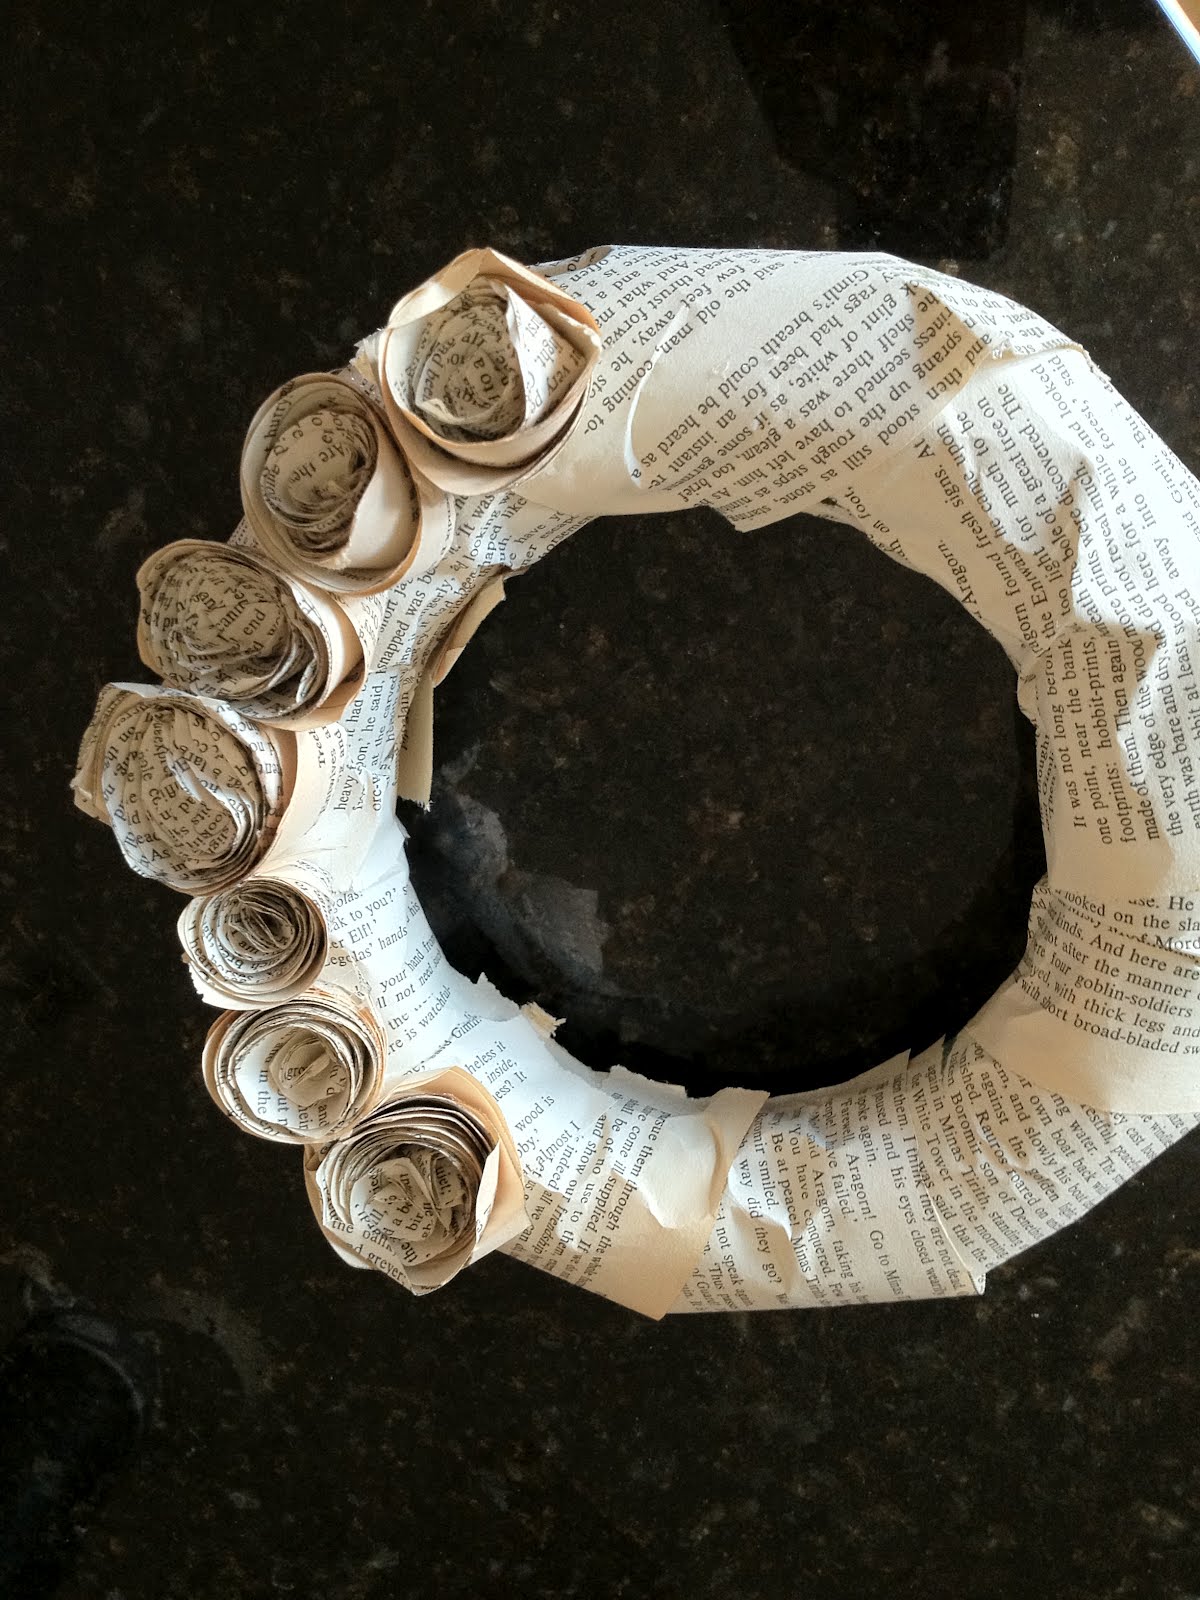
Step 1) Wrap your wreath in several half-sheets to cover any spots that might show through between roses.

Step 2) Rip out three pages at a time from your book. Rip the sheets in half to make two small roses or to make one large rose use the whole page. Using scissors to round the edges so that you have a small square or a large oval.
Step 3) Use your pencil to draw a spiral (you will get good enough to eye ball this step by about rose number four). Here you can see my book and a spiral example that will make a small-ish rose.

Step 4) Use scissors to cut along your spiral lines leaving you with a long twirly snake-like piece of paper.
Step 5) Starting at the smallest end, begin to wrap the spiral in on itself, getting looser as you work towards the edge of your rose. There's lots of room for creativity here. You can be very uniform or be a free spirit. Sometimes I tore the paper to give it a rough edge. Sometimes I made my spiral thicker at some points and thinner on others to give depth to my petals. Sometimes I twisted/rolled the paper as I was creating the rose to give variance. Some roses I made very loose and some I rolled very tight and small. I suggest cutting off the margins of your book pages so that you don't have some roses that just look white when you're done instead of have all that nice writing everywhere!


You can see a map of mordor on this rose...excellent!
Step 6) Using your hot glue gun, create a layer of glue along the back of your rose (trying to touch every edge on the bottom) and immediately stick onto your wreath. I started by gluing my roses one by one onto the center of the foam wreath and then worked my way in and out to give depth. I made smaller roses in the center of the wreath and larger roses for the outside edge. Keep filling in spaces and turning until you like the way it looks!
If you want to hang it, just jam the foam onto a nail. Voila! This is a great project to do while watching a movie (or two or three). It took several hours to complete but made for a very relaxing afternoon (and lots of Jane Austen!).

I found a used copy of Tolkien's The Two Towers for a dollar at the Goodwill (which was perfect since I read the series this year for the first time). I can spot the words "Frodo", "Sam" and "Oliphant" on my wreath. I even managed to get bits of the fabulous maps at the end of the book showing. Love it!!

No comments:
Post a Comment
Leave me some love!